
.avif)


.avif)


.avif)


Key Takeaways (TL;DR)
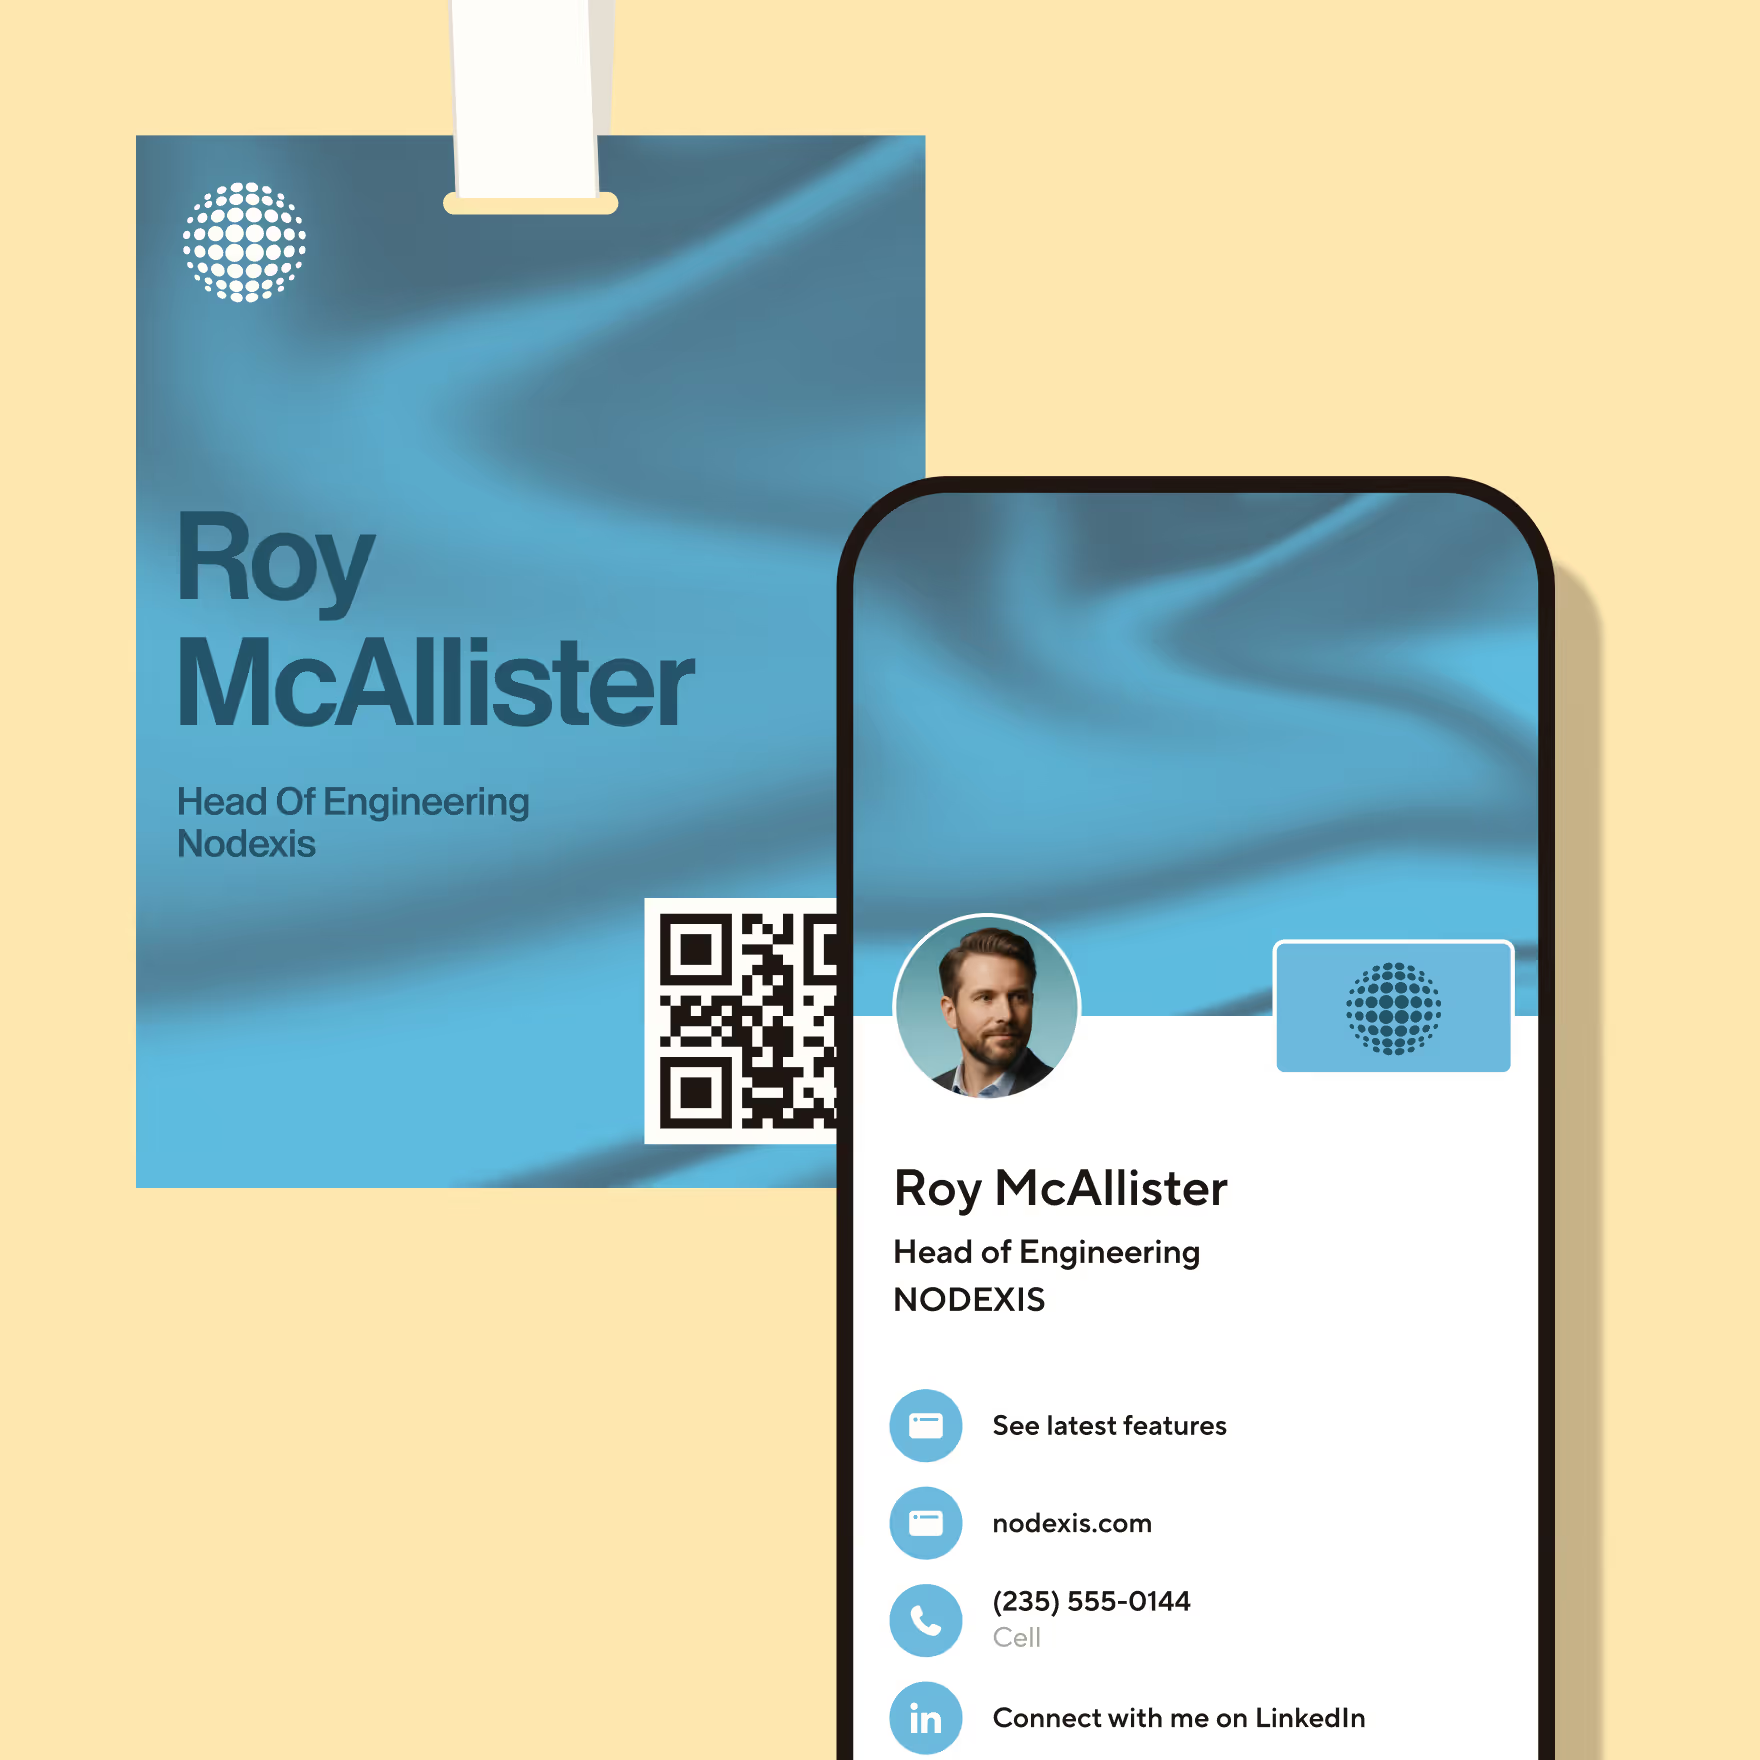
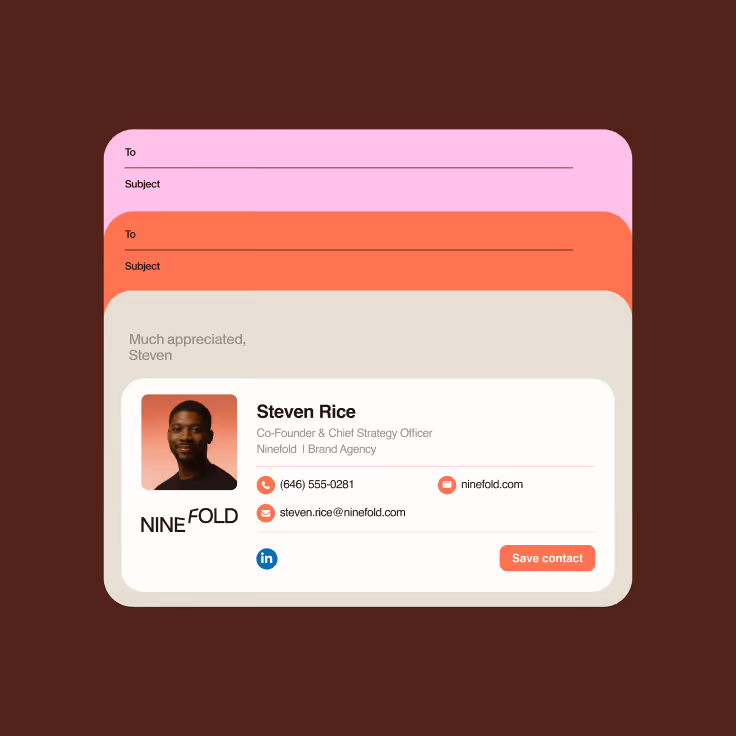
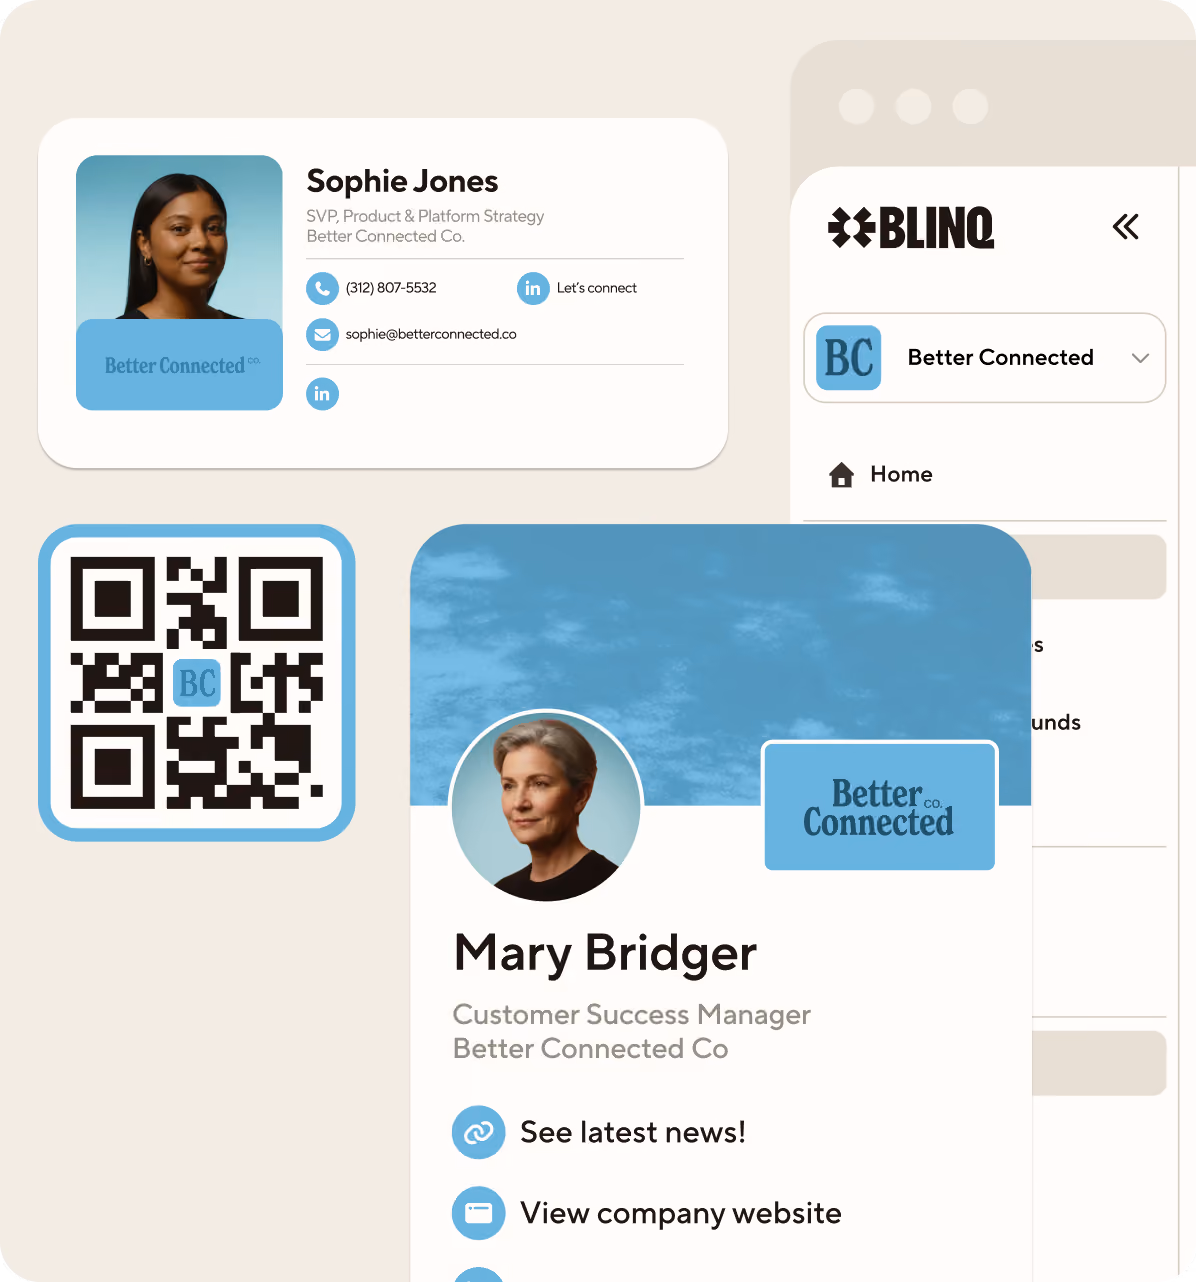
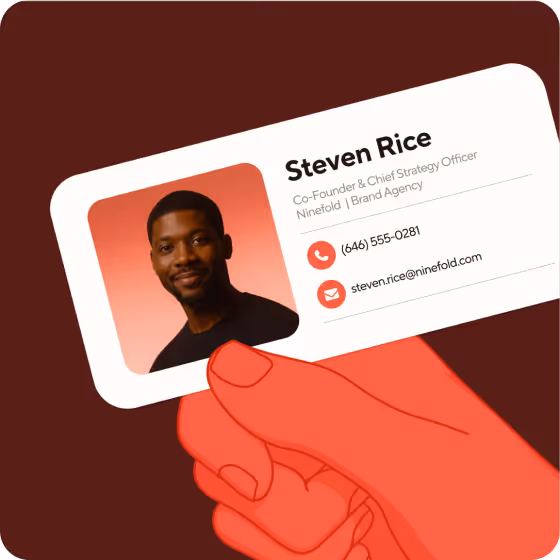
Business cards have had an upgrade in the last few years. Today, you can ditch the old school cards and get a shiny NFC business card. Not only can you keep these cards forever, they also allow you to share your details with just a tap on your new contact’s phone.
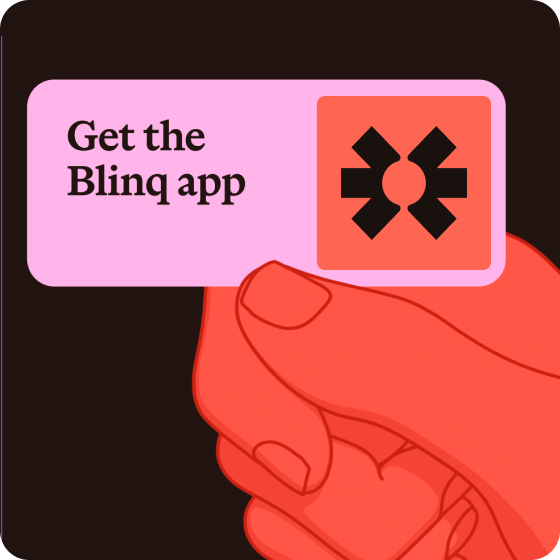
Blinq allows you to create your own custom NFC business card complete with the colors, styles and images of your choosing. This tutorial shows you how to purchase a Blinq custom card and make your custom design using Adobe Photoshop.
If you’d prefer to read a tutorial on how to make your custom NFC business card with Adobe illustrator, click here.
First, a bit about Adobe Photoshop
Photoshop is a renowned creative tool that lets you edit images and graphics to create stunning designs.
Before we dive in and start working in Photoshop, it helps to understand exactly how the app works. Photoshop is called a raster-based app, meaning that it works on pixels. Other apps - like Adobe Illustrator - use vector graphics.
A pixel-based app like Photoshop works differently. When you import graphics, they’re converted to specified pixel dimensions (which you can specify). It’s important to get these dimensions right, so that eventual printed designs aren’t stretched, distorted, or compressed.
So, why would Photoshop be a good choice for creating NFC business cards? For one, it’s a powerful editing tool. If you’re already familiar with it, it’s a great choice for you.
Plus, Photoshop uses layers, making it easy to use advanced designs. And, since Photoshop is a photo editor at heart, it’s the ideal choice if you plan to feature images on your NFC business cards.
Buy the NFC business card to unlock the template
If you haven’t already, complete your NFC Card purchase, selecting the custom card option. Once you’ve completed your purchase, we’ll email you with the template files which let you make your custom design. The file type we’ll work with for this project is .SVG (scalable vector graphic) files.
Open the template
Our template pack includes layouts for both sides of an NFC business card. But for this example, we’ll work with just a single-sided design. Open Photoshop, and then choose the card_template_front_black (1).svg to open from the template pack. Photoshop will import the template, and you’re ready to start editing.

As you can see, the card design is open and ready to edit in Photoshop.
How to change your NFC card’s color
To begin, let’s change the black color overlay into a new shade. Make sure that the Layers pane is open in the sidebar on the lower right side of your screen. Here, you’ll see a black square and text reading Layer 1. Right-click here and choose Blending Options.
The Layer Style menu will launch, with an array of options visible. The one you want is Color Overlay. Click the Color Overlay box, and you’ll see options for it appear in the center of the Layer Style menu. Open up the color chooser, which appears as a gray box just to the right of Blend Mode: Normal.

A palette will open. You can click into it to select a new color. And remember: Photoshop is a professional design tool. If you need an exact hex color match, you can keyboard it into the RGB boxes in the lower right.
When you’ve chosen a new shade, click OK. The card will transform to match your new design. Then, click OK on the Layer Style tab to close it out.
How to add text to your custom NFC card
Next, it’s time to add custom text. This is the key ingredient for your business cards. To get started, activate the Horizontal Type tool. You’ll find this on the vertical menu bar on the far left side of the Photoshop window. Click on it to turn it on.
Then, click onto the surface of your business card into an area where you want to place text. On the right sidebar, you’ll see the Character selection menu. In it, you can select a font style and size that fits well on your business card.
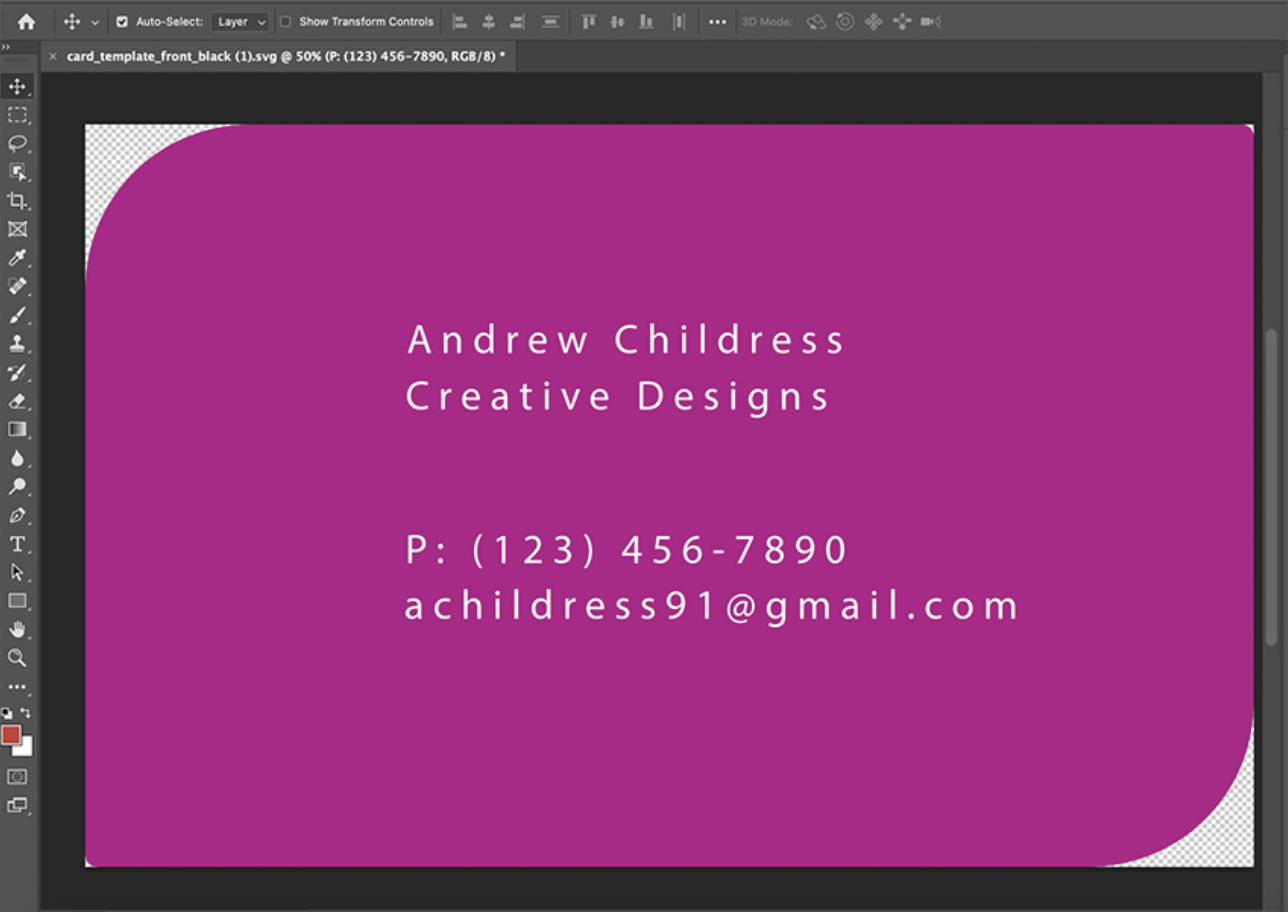
Also, open the Color chooser to select a high-contrast shade. Keep in mind: printed business cards are quite small. You need fonts that are clear and easy to read. With a dark background like this one, try to use white printing.
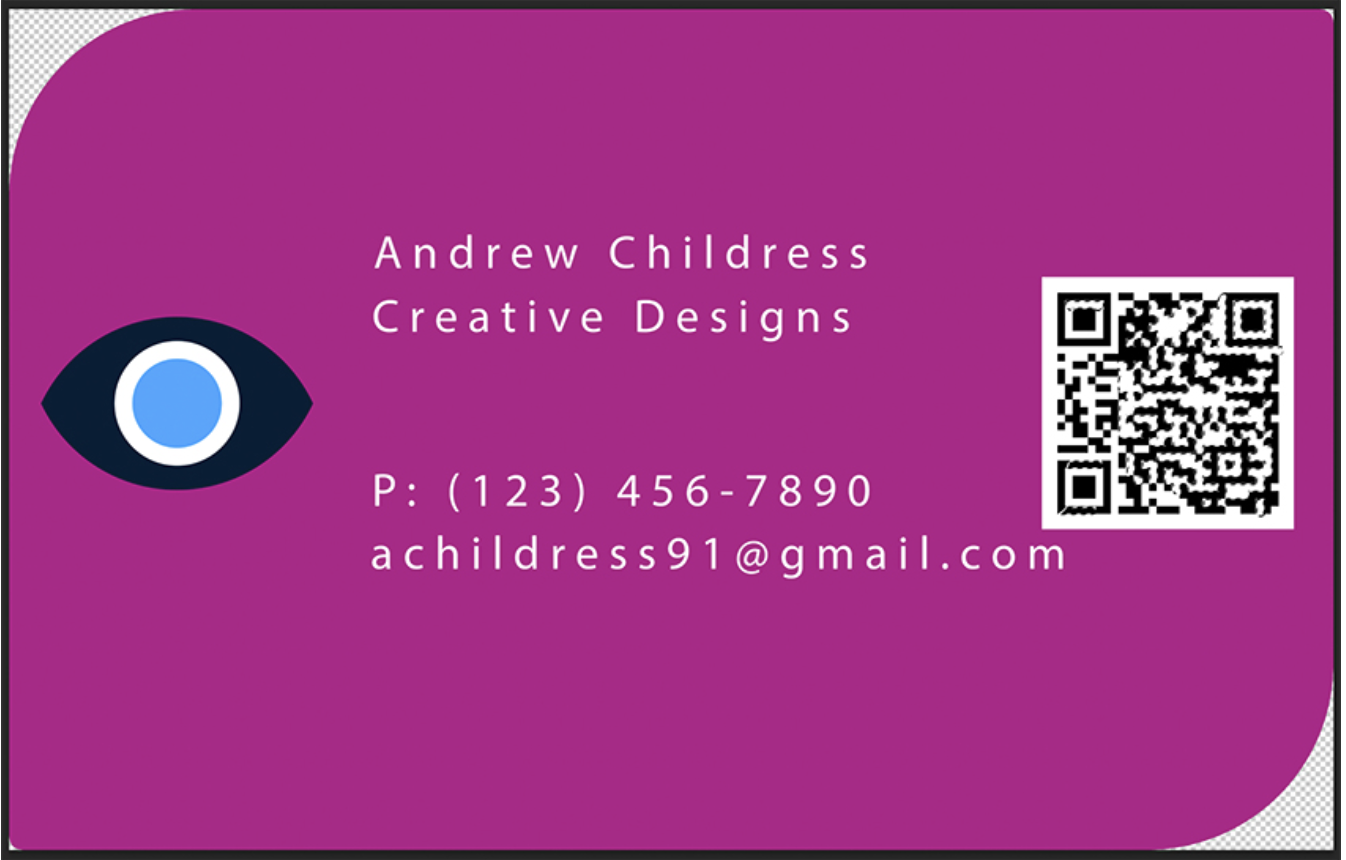
Keyboard in your key information, and you’re all set! Your name and contact information is now on display.

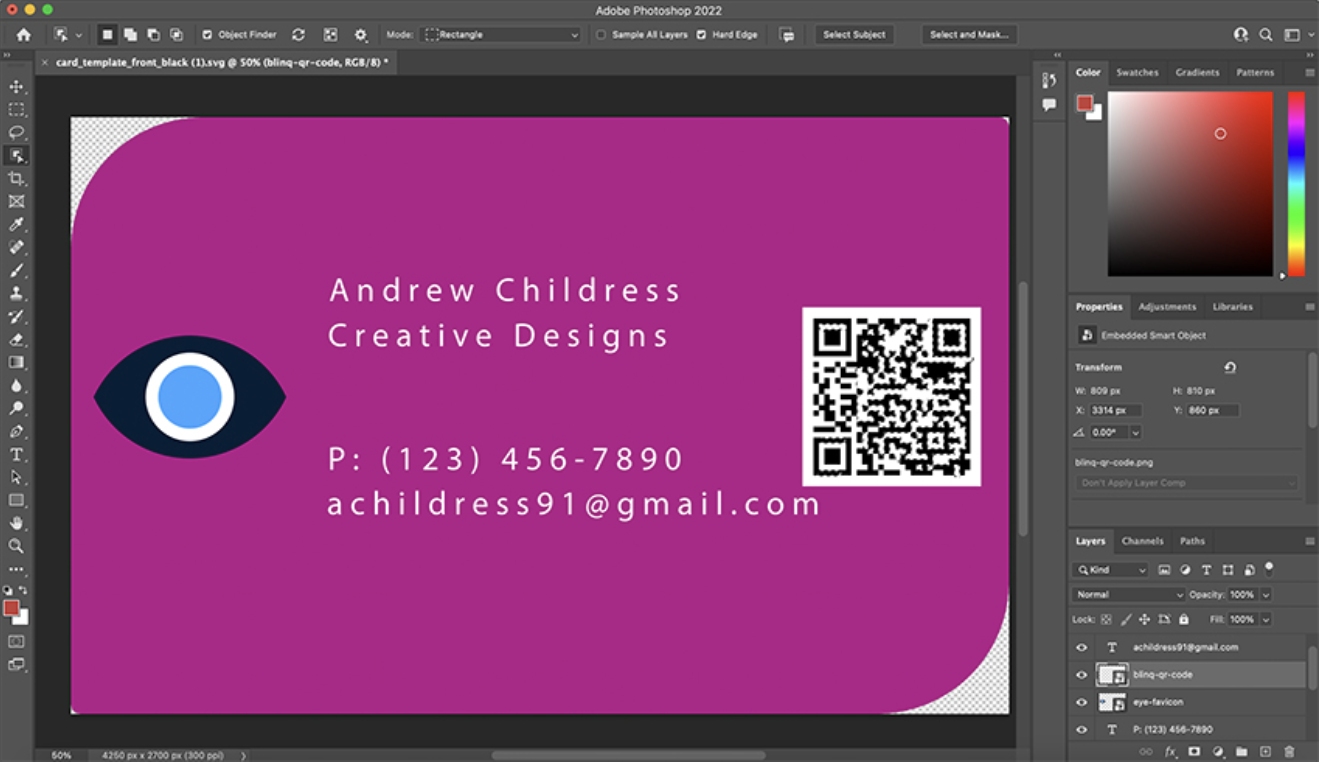
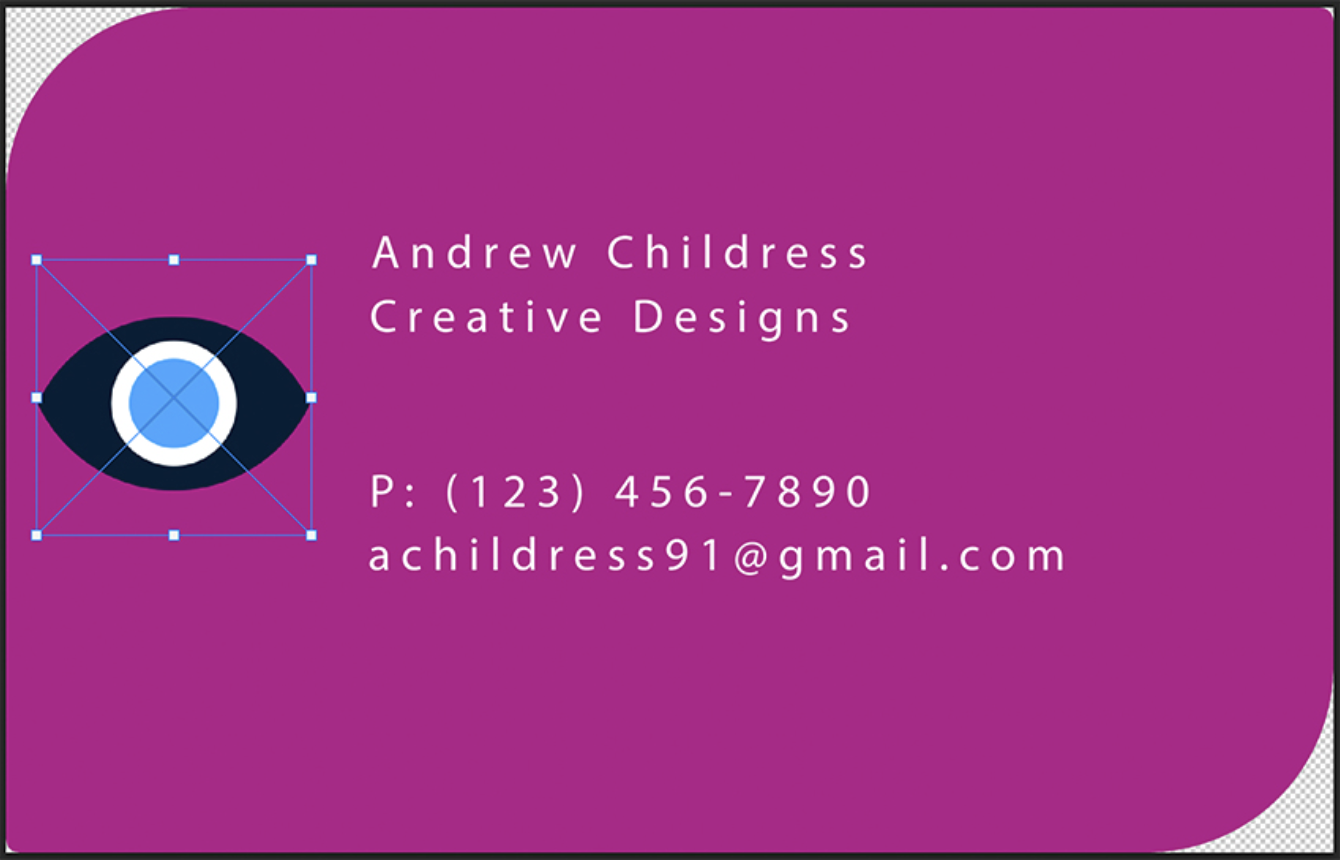
How to add images to your NFC business card using photoshop
Now, let’s make two final additions: our company logo, and a QR code.
To add the logo, browse to a logo image file stored on your computer. Then, click and drag it over your Photoshop canvas. Drop it into place right on the card. Photoshop will import and place the photo onto the surface of your card design.
Notice that the logo is outlined in blue, with white squares on the corners. These squares are handles that you can pull on to resize the logo. To do that, simply hold down your cursor and pull on one of the squares.
Watch as the logo resizes in real time. Then, you can click and drag on the center of the logo to move it into a new position on the front of your card.
Last but not least, let’s get our Blinq QR code added to the card design. First off, check the template email we sent you as we include your QR code there.
You can also find your QR code by logging into your Blinq account. Find the Personal Cards section on the web interface, and select your digital design. Click QR Code, found at the top of the screen.
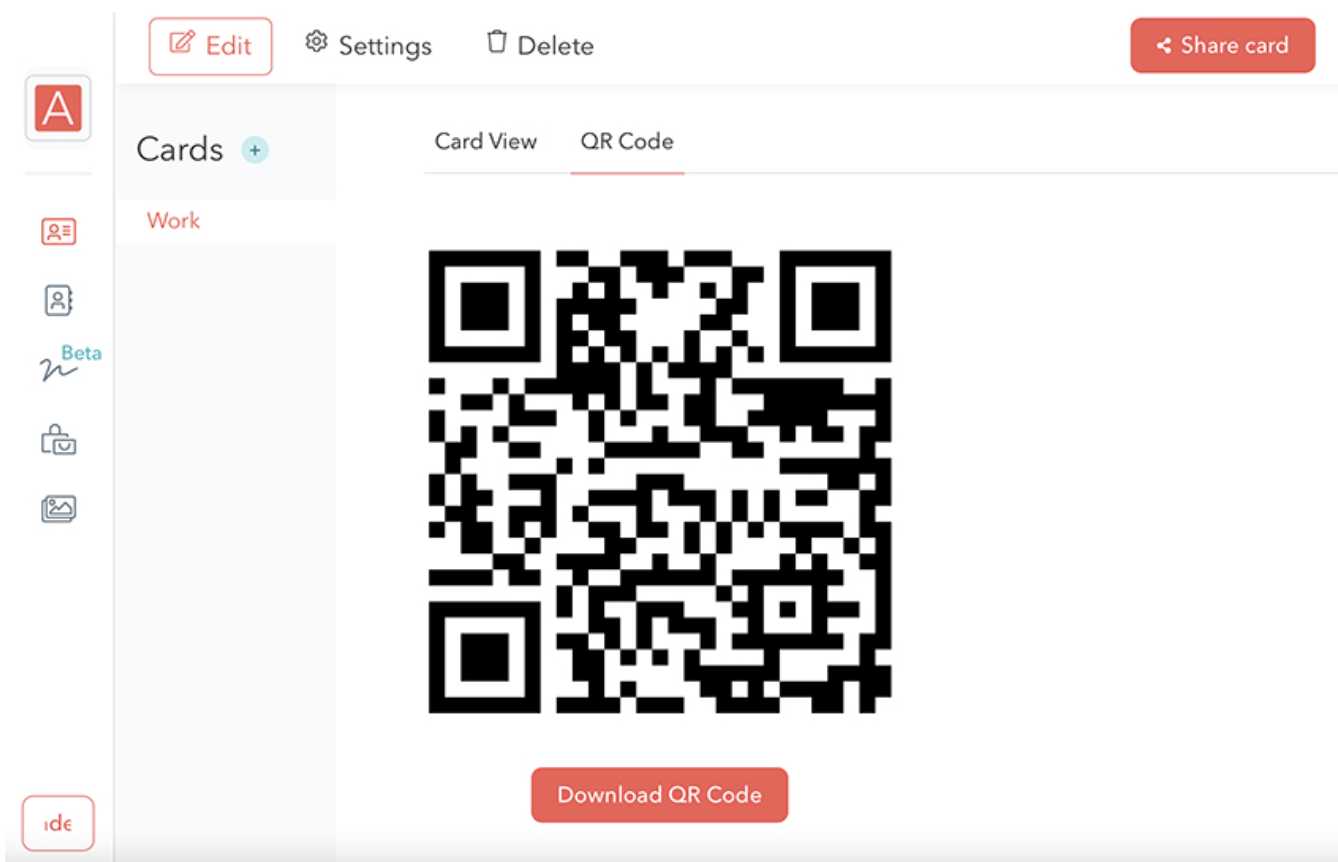
Blinq will generate a QR code. When someone scans it with their phone, they’ll instantly be taken to your Blinq digital business card online!
Click Download QR Code. A .png-format image file will download. Jump back to Photoshop, and now, you can add your QR code to the card. The process is identical to adding an image.
Drag and drop the image onto your card, and resize it by pulling on the edges. That’s all it takes! In just a few quick steps, you’ve built a stunning business card design using Adobe Photoshop and Blinq.
When you’re finished, click Export in the lower right. Photoshop will export your finished card design into a shareable, printable image.
Send the designs to Blinq
When your designs are ready, send them to support@blinq.me. We’ll print them, link them to your Blinq digital profile and then we’ll send them to your door.
As you can see, it’s amazingly easy to build spectacular business NFC business card designs in Adobe Photoshop!

