
.avif)


.avif)


.avif)


Key Takeaways (TL;DR)
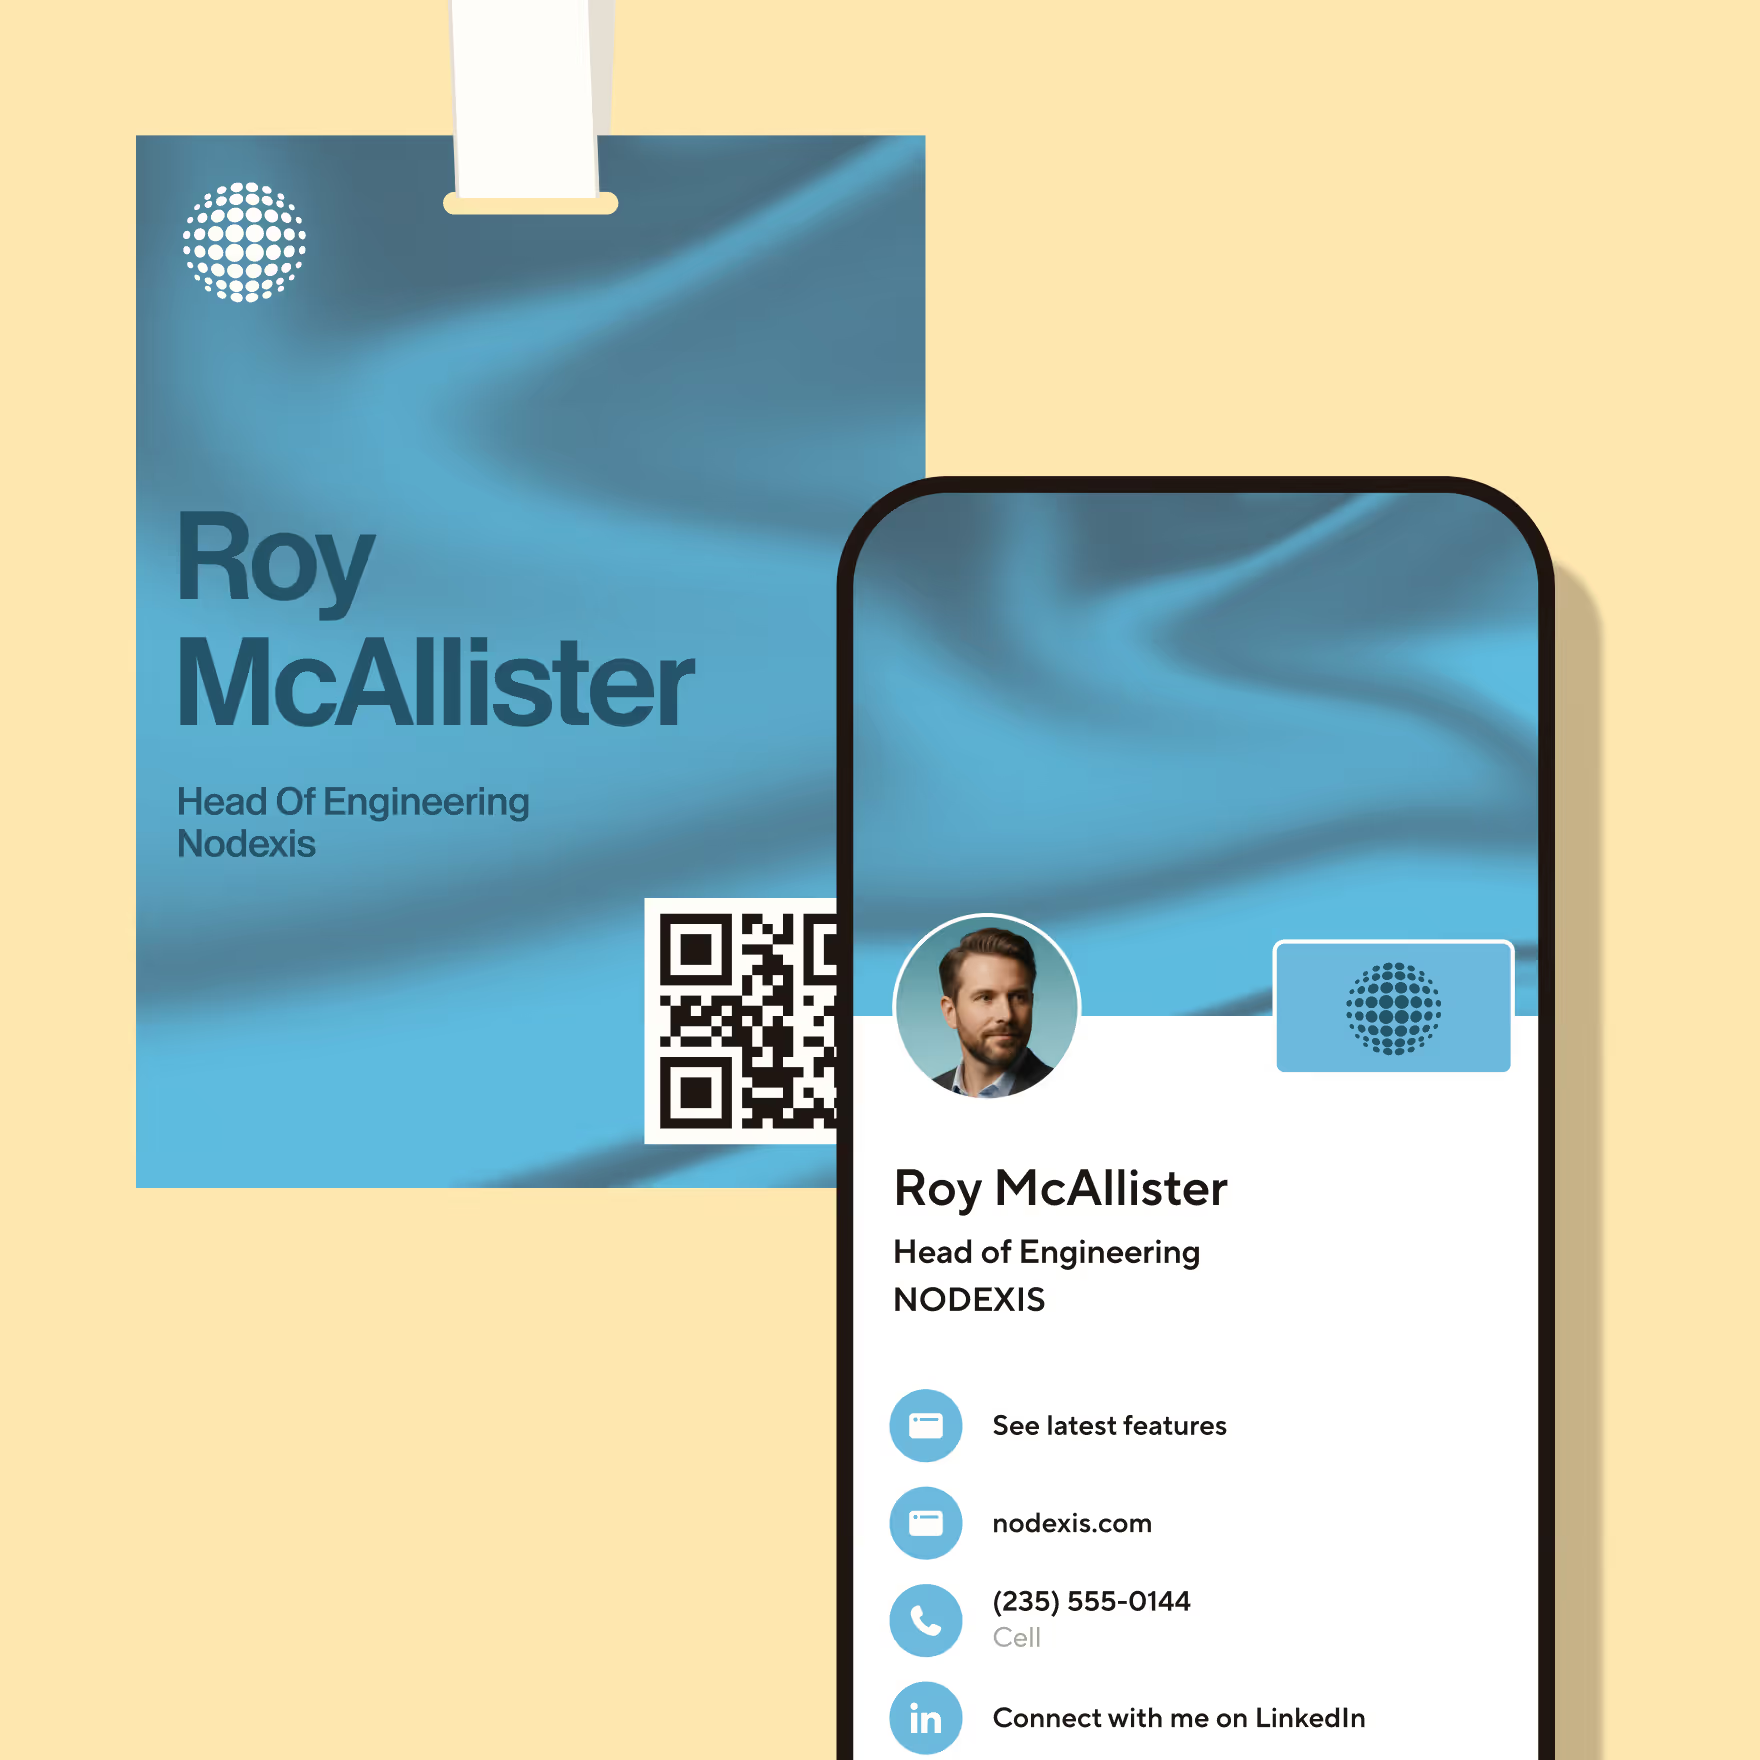
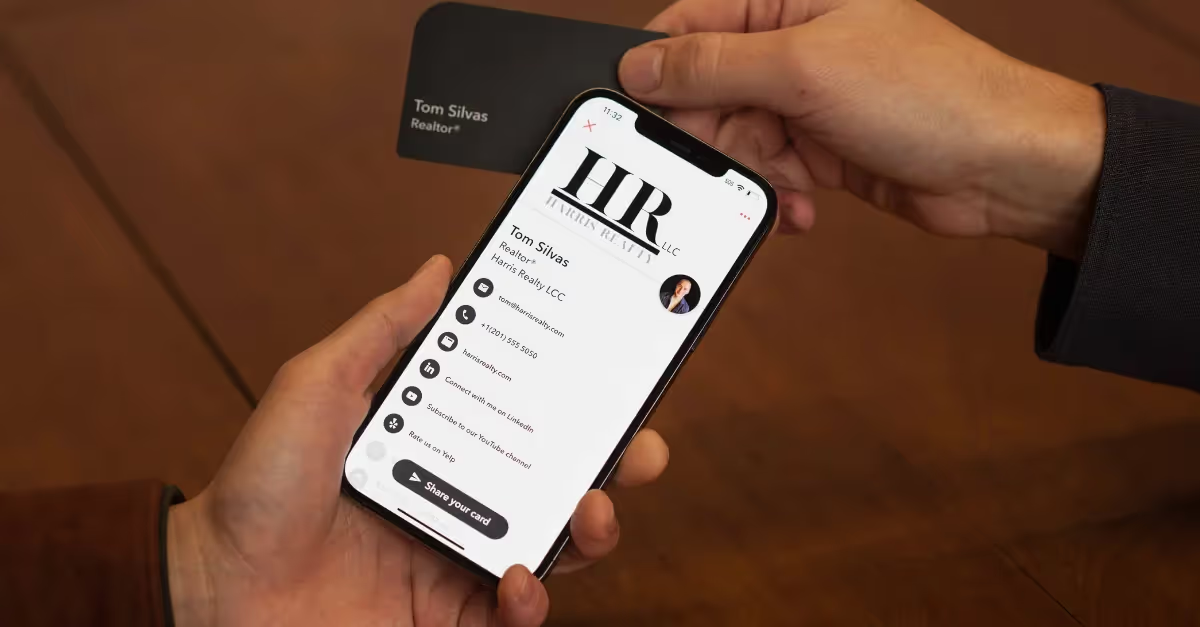
When you think of business cards, chances are you think of paper cards. You know the ones: the little 3.5 x 2-inch handouts you might collect at networking events, job fairs, and more. These are classic business cards. But in 2023 and beyond, business cards are going digital. Blinq’s NFC Business cards let you share your details in one tap. And you should embrace them today.
Blinq’s custom NFC cards are NFC business cards that are printed with the design of your choice. In this article, I’ll explain how you can make your very own design using Adobe Illustrator.
Prefer photoshop ? Learn how to create your custom NFC Card in Adobe Photoshop.
Adobe Illustrator is the perfect design pairing for designing NFC business cards. It’s a creative tool that helps you build visually stunning designs and layouts. When you use Illustrator, you’re sure to craft stylish designs that will be remembered.
First, buy the card to access the design template
Start off by buying the NFC Custom card from this page. Once you’ve purchased the card, you’ll receive an email with the design template.The templates areSVG (scalable vector graphic) files designed for use in Illustrator.
How to build NFC business cards in Adobe Illustrator
Before we dive in, it’s important to understand exactly what Illustrator is, and what it can do to help you. In essence, Illustrator is an app designed to edit vector graphics. This is very different from other Adobe apps like Photoshop. Vector graphics use visual pathways to create illustrations.
Photos and other images are pixel-based in their design language. Pixel-based graphics are subject to stretching and distortion when you resize them. Not so with vector graphics - they export flawlessly at any size.
This ability to size and scale is very important for NFC business cards.! By using Adobe Illustrator, you can easily build spectacular cards that are ready to print out and share with others. Plus, you can link users back to your digital profile on Blinq.
With Illustrator open, let’s get to work building an NFC business card of our own! Again, we’ll make use of a template here with .svg format files. These work in Illustrator, and they help you build layouts that export perfectly at any size.
This one includes four image files that cover both the front and back of your business card designs. It’s often useful to create business cards with content on the front and back. But for this example, we’ll use a single-sided NFC business card.
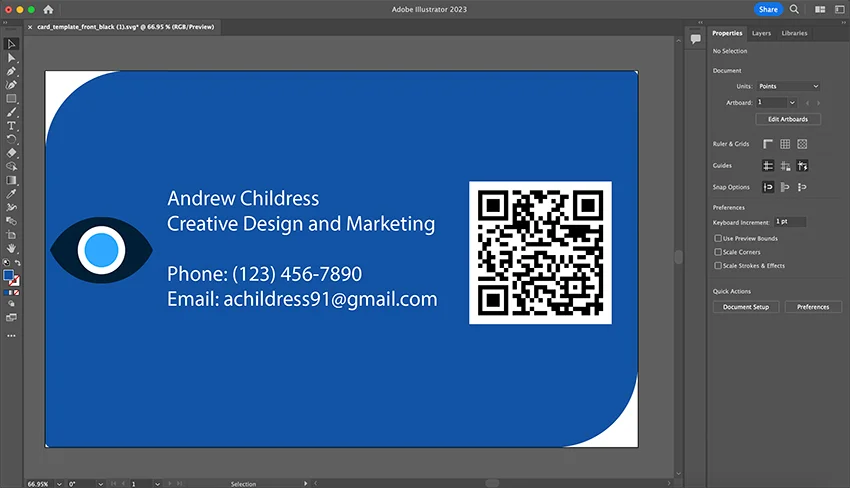
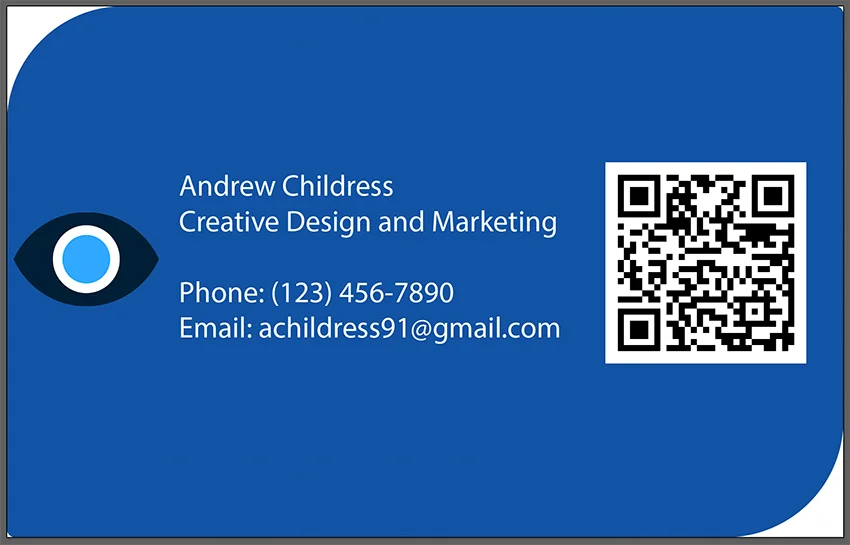
To get started, open up one of the front-side .svg files. By default, your computer will launch files like this in Adobe Illustrator. Here, the file we want is called card_template_front_black (1).svg. Open it up in Adobe Illustrator, and now we’re ready to get to work.
Changing your NFC Card’s color in Illustrator
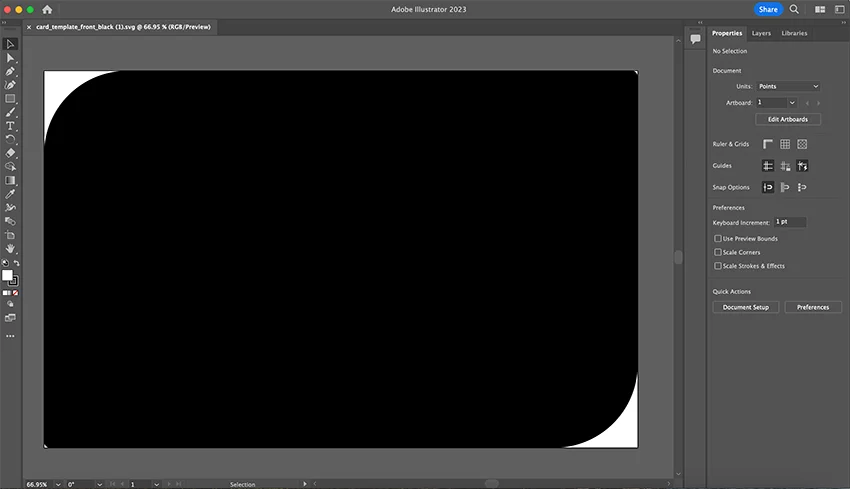
With the business card template open in Illustrator, you have design decisions to make. Let’s begin by customizing the color palette. Notice that the template defaults to a black filled design. But with Illustrator, it’s easy to change designs to match your favorite colors.
To change colors in Illustrator, activate the Selection Tool. It’s found on the menu bar on the left side of the screen, at the very top. Here, with the Selection Tool active, click on the black shaded area of your business card. You’ll see blue lines surrounding the card, indicating that it’s your active selection.
Then, navigate to the Properties sidebar on the right side of Illustrator. Click into the Fill color chooser, and watch as a menu appears. From it, you can select new shades on the CMYK color spectrum. Simply click on the palette to apply a new color.
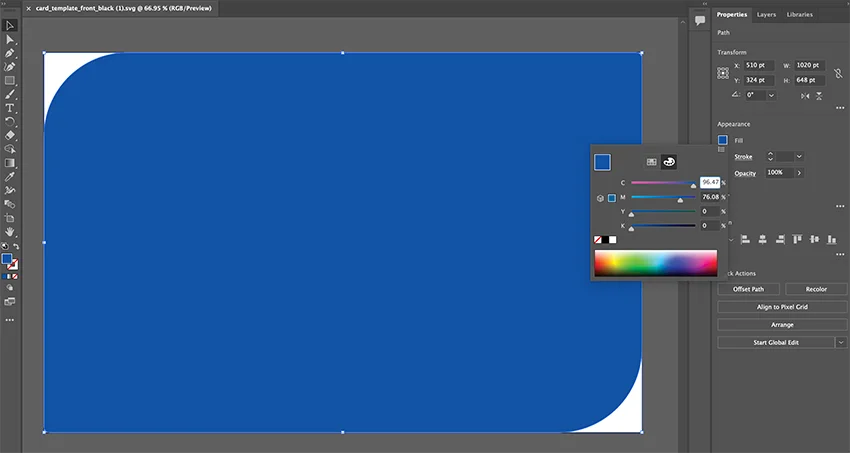
Remember, Illustrator is a powerful design tool. Using the sliders, you can manipulate colors if you need a precise match. This is especially useful if you’re matching your business cards to your brand’s colors, for example.
Adding text to your card
Just like that, we’ve added custom colors to our Illustrator business card. Next, it’s time to add the most important element: text. To get started, return to the toolbar on the left side of the Illustrator canvas and click on the Type Tool to activate it. It looks like a capital T, and it’s a few spots down from the Selection Tool that we used earlier.
With the Type Tool active, hover your cursor over a spot on your business card where you want to place text. Click once, and an active text box will drop into place.
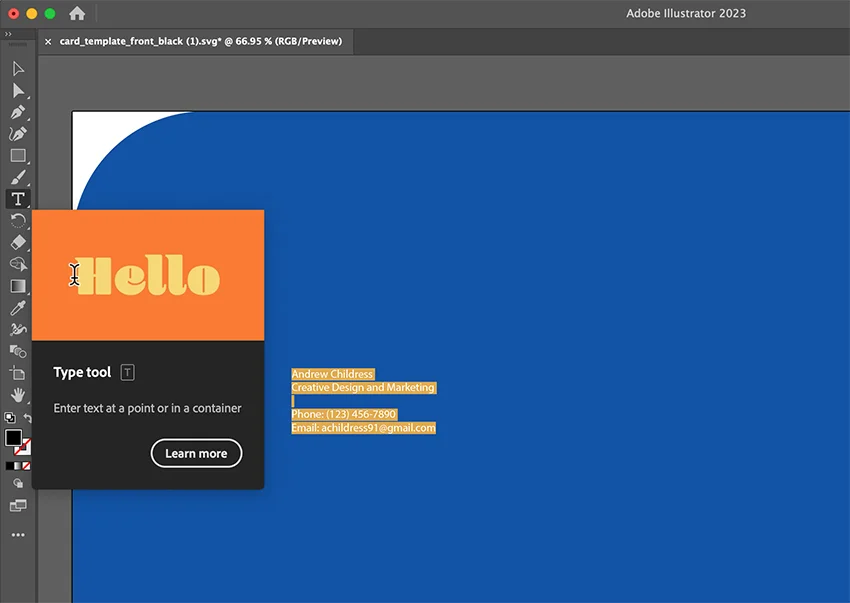
Back on the Properties sidebar on the right, you’ll see font settings in the Character section. Here, you can change the font size and style. Additionally, you can change line spacing and alignment using the buttons and menu dropdowns. Changes you make here will apply in real time.
Now, you can type in your key details. Remember to add your name, key contact details, and other relevant information. What to include is really up to you, but these basics are virtually always found on professional business card designs.
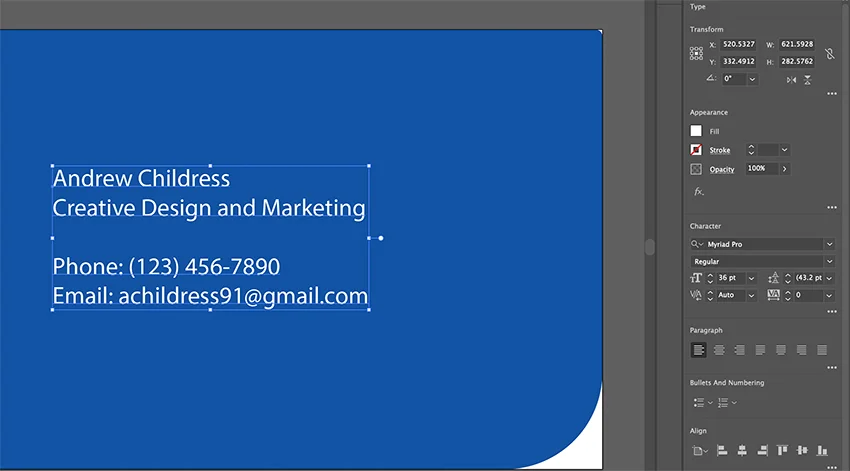
With text added, you can select portions of the text by clicking and dragging, to apply cool font effects. Use the same options from earlier on the Character menu as needed. You can also change the font color by using the Fill dropdown in the Appearance section.
Adding your logo to your card design
Finally, let’s add a logo to complete our business card design. The easiest way is to browse to a logo image file that you already have stored on your computer. Find the file, click on it, and drag it over your business card design in Illustrator. Drop it into place, and Illustrator will import the logo.
Make sure the Selection Tool is active, and then click and drag on the logo to move it into place on your business card. You can also click and drag on the white squares at the edges to resize the logo.
By default, Illustrator doesn’t lock aspect ratios of images. This means that you can easily distort the shape of the logo! To avoid this, hold down Shift on your keyboard as you click and drag. This way, the aspect ratio will lock as you scale the logo.
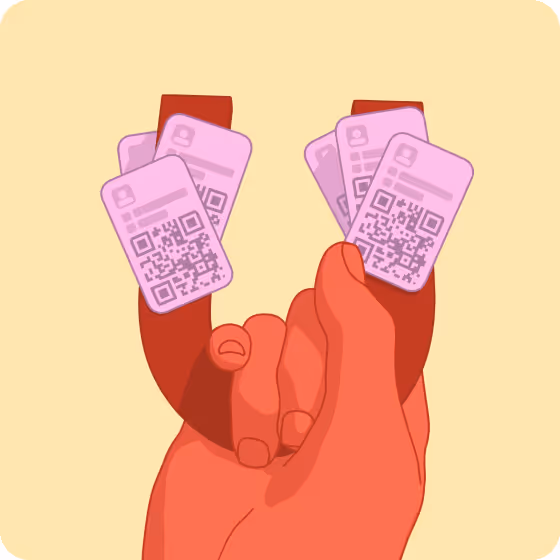
Adding a QR Code to your card
Want to add more details to your Illustrator business card, but running out of room? A QR code is your best bet. This is how you link to your Blinq digital profile using printed card designs. The QR code will be emailed to you with your design templates. If you’ve already signed up to Blinq, you can also export a QR code right out of Blinq’s web dashboard, and then add it to the card in Illustrator.
To do this, log into your Blinq account. Navigate to the Personal Cards section, and choose the card design that you want to link to. Then, click QR Code at the top of your screen. A QR code will generate, and when it’s scanned, it will launch your Blinq digital profile.
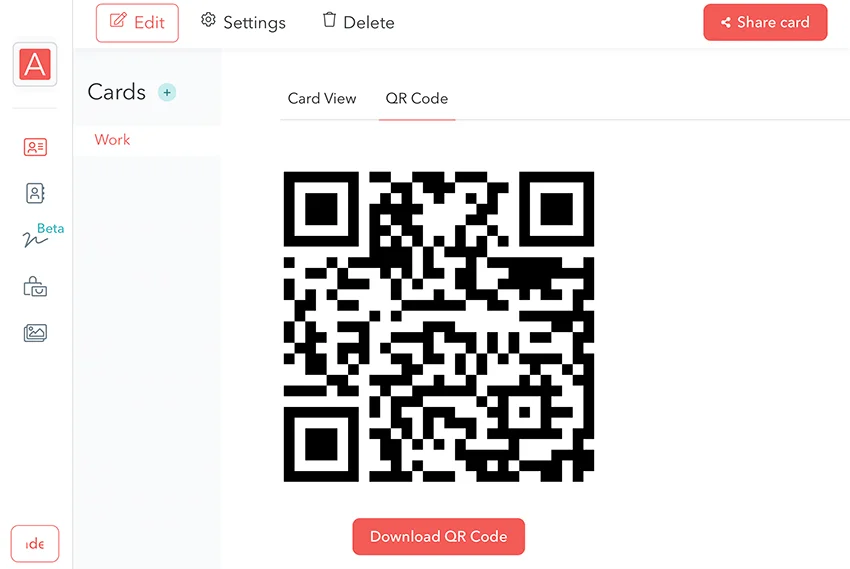
Click Download QR Code, and a .png image file of the code will download. Return to Adobe Illustrator, and now, you can add your QR code to your business card. Work with the same steps you used to add the logo. Drag the QR code image over your card and drop it into place. Then, hold down Shift and pull on the corners to resize as necessary.
Exporting your design file from Illustrator
That’s it! In just a few quick steps, you’ve created your very own custom NFC business card design in Adobe Illustrator. Now, it’s time to export your finished cards so that they’re ready to print. Begin by going to File > Export > Export As. Give your card a name in the Save As box, and choose a location to save it.
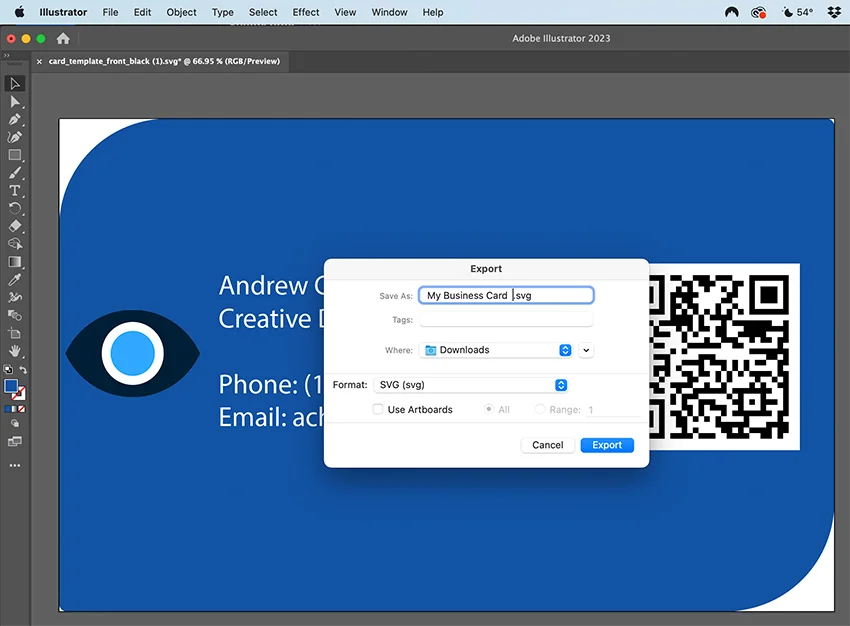
Finally, you’ll need to choose a file format. Illustrator gives you an array of options. By default, the file will remain in .svg format. But you can also use image files like .jpg, .png, and more. The trick here is to work with your printshop to choose the best format.
Remember, .svg is often a good choice because of the lack of compression. You want to ensure that your cards will look perfect in print.
Make your selections, then click Export. Adobe Illustrator will export your completed, NFC business card designs! Now, send the .svg files to support@blinq.me and we’ll get your cards printed and sent to you.
As you can see, it’s easy to craft Adobe Illustrator NFC business cards in 2023. Hopefully this article gives you all the information you need, but if you need any help, contact the amazing Blinq support team.

